6. Fill the five spaces between the firebox walls with murram to the top of the brick course and use the
rammer to level it. If possible, use a spirit level to make sure the area is level.
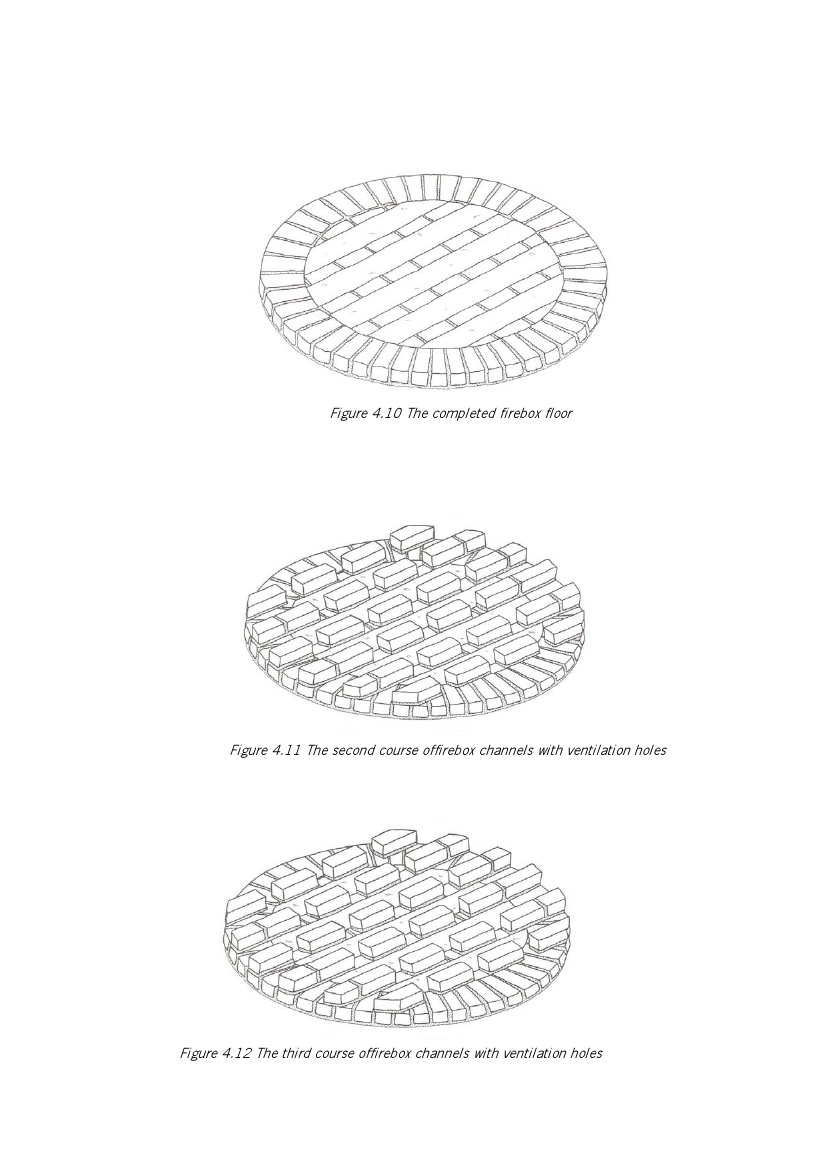
Figure 4.10 The completed firebox floor
7. Lay the second course of firebox wall bricks leaving a 10 cm ventilation gap between each brick.
Position the bricks so that the ventilation gaps are not in line with each other. There should be three
ventilation gaps in each of the two outer channel walls. This layer of firebox wall bricks will extend out
to lie on top of the outer circle of bricks.
Figure 4.11 The second course offirebox channels with ventilation holes
8. Lay the third layer of bricks on top of the second course, but this time leave no gaps. Ensure that this
course is level and that all joints are well filled with mortar.
Figure 4.12 The third course offirebox channels with ventilation holes
14